
I hate storing wreaths. They take up so much room and they always seem to get smashed. Wreaths can also get ridiculously expensive. So I decided to make myself some wreaths that change with the seasons.
1) First I bought two straw wreaths and left the plastic wrap on them. You could use a styrofoam wreath too, but these were cheaper at Hobby Lobby. I also picked up some burlap ribbon
2) Holding down the ribbon with your thumb on the wreath, slowly wrap the ribbon around the wreath, overlapping just enough so that the ribbon doesn’t bulge or the straw doesn’t show.
3) Once you are done wrapping, using glue or a needle and thread, fasten the end of the ribbon down in the back so that you can’t see the end.

4) You are done! Really, that is it!
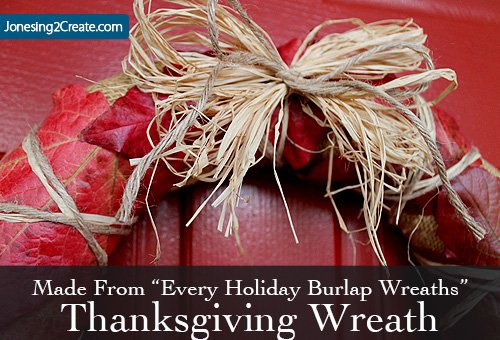
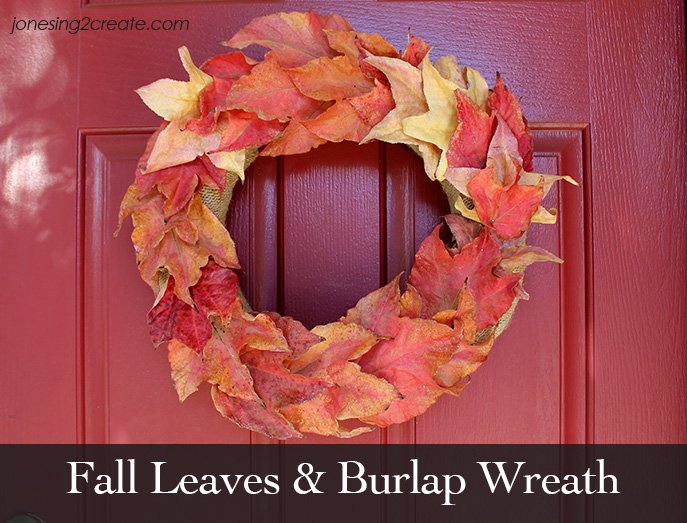
It doesn’t look so pretty now, but the ribbon makes it easy to clip on decorations and the straw is good for pinning things on it. I can wrap it with ribbon, clip on some flowers, or pin on some decorations. Now I can just change things out depending on the season. I have even used these to decorate for a baby shower!



Pingback: Crud I Found in My Craft Room Halloween Wreaths - Jonesing2Create
Pingback: Crud I Found in My Craft Room Halloween Wreaths - Jonesing2Create
Pingback: Real Fall Leaves Wreath - Jonesing2Create
Pingback: Real Fall Leaves Wreath - Jonesing2Create
Pingback: Crud I Found in My Craft Room Challenge: Pine Cone and Burlap Christmas Wreaths - Jonesing2Create
Pingback: Crud I Found in My Craft Room Challenge: Pine Cone and Burlap Christmas Wreaths - Jonesing2Create
Pingback: Crud in My Craft Room Challenge: July 4th Wreath With Garden Faucet Handle | Jonesing2CreateJonesing2Create
Pingback: Crud in My Craft Room Challenge: July 4th Wreath With Garden Faucet Handle | Jonesing2CreateJonesing2Create